
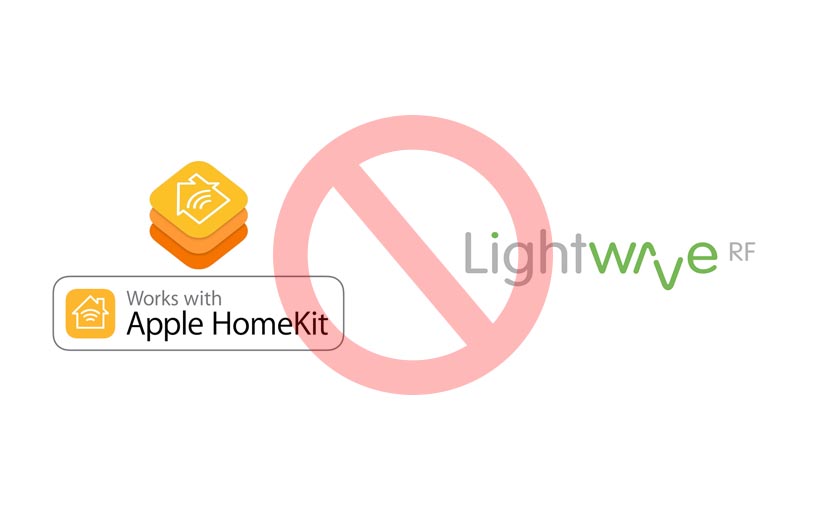
Apple Homekit was a promise by Apple to bring all your home automation equipment together under one app. Unfortunately the adoption of homekit from other manufacturers has been almost glacial in speed from either development costs or licensing costs or the desire for their end user to only use their App! All this achieves is forcing users to have an app for almost every device they own. Want to turn on your TV? Turn on your lights? Set your thermostat? that will be 3 different apps and time spent navigating them.
Fortunately there is an answer. Homebridge is designed to “bridge” the gap between Apple’s Homekit and your devices which don’t natively support them. So what we waiting for?
Firstly you will need a device to run Homebridge. This can be any Linux capable device namely a virtual machine, mac, rasberryPi.
I have a few guides for setting up a virtual machine on Freenas which is a free Network Accessed Storage installation you can find those below:
Set up a Virtual Machine on your Freenas Device
Installing Ubuntu on a virtual machine
Introduction
In order to install homebridge we are going to need an initial installation of the framework software which is going to manage the homebridge bolt on. This is called NodeJS.
NodeJS is a scalable Javascript runtime which allows you to create applications (such as homebridge) and run them on your hobby machines at home to enable tasks we are trying to achieve. You can use NodeJS for various applications and it’s a very powerful tool.
1. Firstly we need to install NodeJS on your machine. Run the following command.
curl -sL https://deb.nodesource.com/setup_8.x | sudo -E bash -
Then, with sudo
sudo apt-get install -y nodejs
2. You will need additional packages that NodeJS may rely on in future you can install them by running the below:
sudo apt-get install -y build-essential
3. Once this is install you can verify that it’s running and see what version you’re running with the following:
node -v
4. If everything looks good we can proceed with installing Homebridge. Run the following command and it’s very important that you use Sudo here too.
sudo npm install -g homebridge
Homebridge should now be installed.
You can run Homebridge by simply typing it at the command line. It should start and show your QR code but it may complain about a missing config.json we will cover that in a moment.
If we finished here homebridge would only run when you start it manually. For our purposes this isn’t bueno. If your device restarts the homebridge software would never restart until you did it yourself.
Running Homebridge on boot
5. Firstly we need to create a user for running the Homebridge boot service:
useradd --system homebridge
6. Create a homebridge folder for storing the config and persistence info:
sudo mkdir /var/homebridge
7. Set the owner of that folder to the user we just created
sudo chown homebridge:homebridge /var/homebridge
8. Create config file for homebridge at /var/homebridge/config.json using the sample below (you will need to edit it with your information):
Navigate to the correct folder
cd /var/homebridge
Create the file
sudo nano config.json
Enter the following basic configuration and save afterwards
{
  "bridge": {
    "name": "Homebridge",
    "username": "xx:xx:xx:xx:xx:xx",
    "port": 51826,
    "pin": "xxx-x-xxx"
  },

  "description": "This is a sample description"
}
You will need to enter your devices ethernet MAC address as the “Username” use all CAP letters and numbers
The PIN is what you use to connect to Apple homekit, you can set what you like. Numbers only.
9. Create a file in /etc/default/ called homebridge
Navigate to the correct folder
cd /etc/default
Create the file
sudo nano homebridge
Enter the following and save
# Defaults / Configuration options for homebridge
# The following settings tells homebridge where to find the config.json file and where to persist the data (i.e. pairing and others)
HOMEBRIDGE_OPTS=-U /var/homebridge

# If you uncomment the following line, homebridge will log more
# You can display this via systemd's journalctl: journalctl -f -u homebridge
# DEBUG=*
10. Create a file at /etc/systemd/system called homebridge.service
Navigate to the correct folder
cd /etc/systemd/system
Create the file
sudo nano homebridge.service
Enter the following and save
[Unit]
Description=Node.js HomeKit Server
After=syslog.target network-online.target

[Service]
Type=simple
User=homebridge
EnvironmentFile=/etc/default/homebridge
ExecStart=/usr/bin/homebridge $HOMEBRIDGE_OPTS
Restart=on-failure
RestartSec=10
KillMode=process

[Install]
WantedBy=multi-user.target
11. Now we can enable the service. You will need your password
systemctl enable homebridge
12. Start the service
systemctl start homebridge
13. Check the status of the service and make sure it’s running. You should receive a read out like below with your PIN shown.
systemctl status homebridge
Active: active (running) since Fri 2018-09-14 10:51:00 BST; 1 day 1h ago
 Main PID: 2894 (homebridge)
    Tasks: 10
   Memory: 31.2M
      CPU: 24.642s
   CGroup: /system.slice/homebridge.service
           └─2894 homebridge

Sep 14 10:51:03 Urban-HB homebridge[2894]:
Sep 14 10:51:03 Urban-HB homebridge[2894]:
Sep 14 10:51:03 Urban-HB homebridge[2894]:
Sep 14 10:51:03 Urban-HB homebridge[2894]: Or enter this code with your HomeKit app on your iOS device to pair
Sep 14 10:51:03 Urban-HB homebridge[2894]:
Sep 14 10:51:03 Urban-HB homebridge[2894]:     ┌────────────┐
Sep 14 10:51:03 Urban-HB homebridge[2894]:     │ xxx-xx-xxx │
Sep 14 10:51:03 Urban-HB homebridge[2894]:     └────────────┘
Sep 14 10:51:03 Urban-HB homebridge[2894]:
Sep 14 10:51:03 Urban-HB homebridge[2894]: [2018-9-14 10:51:03] Homebridge is running on port 51826.
To finish the installation try restarting your machine. Once it’s loaded back up run the status command again. If you get the read out like below the service started automatically with startup! Congratulations.
Homebridge is now setup and running. We can move to installing plugins for our various devices such as lightwaveRF or NEST
In my search for getting this whole setup running i’ve ran into a lot of outdated information from years ago. This is the reason for this post to help others and myself in future.
Cred – Thanks to jamieburchell LightwaveRF community user for the bootloading instructions.
Thanks for the clear and straightforward instructions. Worked great and was able to add the Wyze Cam v2 to HomeKit cameras. Much Appreciated!!!