
Although most of my ramblings on here which will serve as a “backup” so i can remember how to fix things when i inevitably break something relating to my setup which is a Freenas device this particular guide will work when installing Ubuntu 16.04 server on any pc/server/laptop.
Ubuntu is my favorite distro of linux so far, although i’ve not used many and don’t have the brain capacity needed to remember all the commands required (this is only a hobby after-all) Ubuntu is the one version that it’s commands have stuck in there.
So if you followed my previous post about setting up a Virtual Machine you should be ready to start that VM and get installing Ubuntu Server.
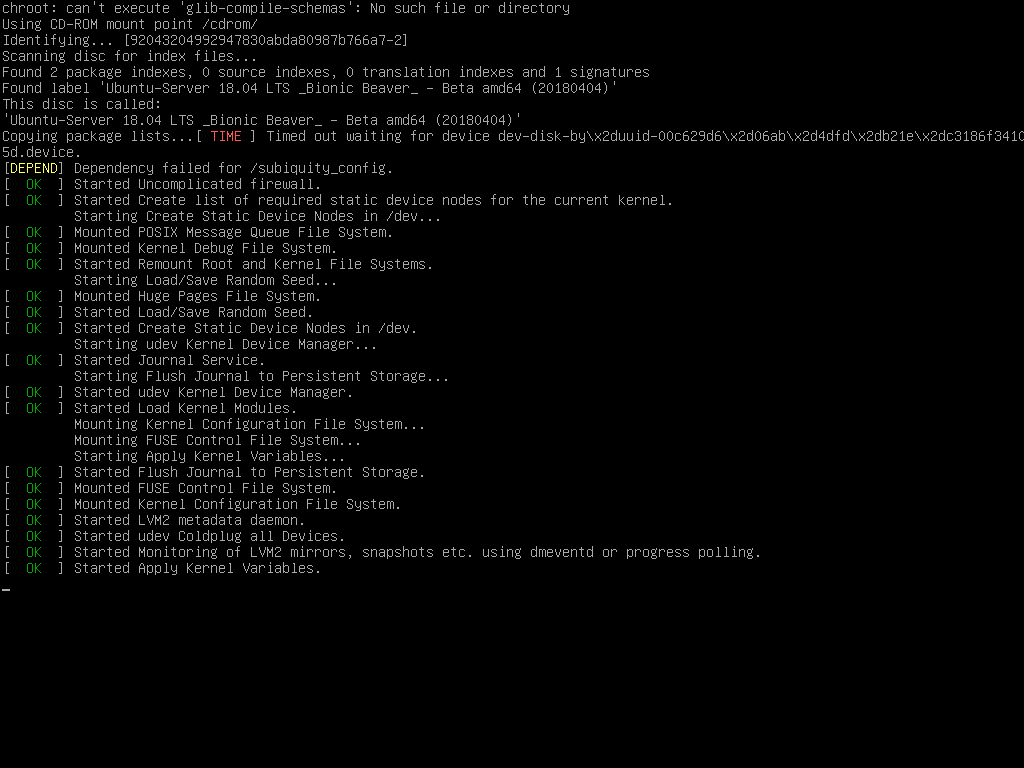
1. On the startup you’ll be shown many scary things, it’s fine.
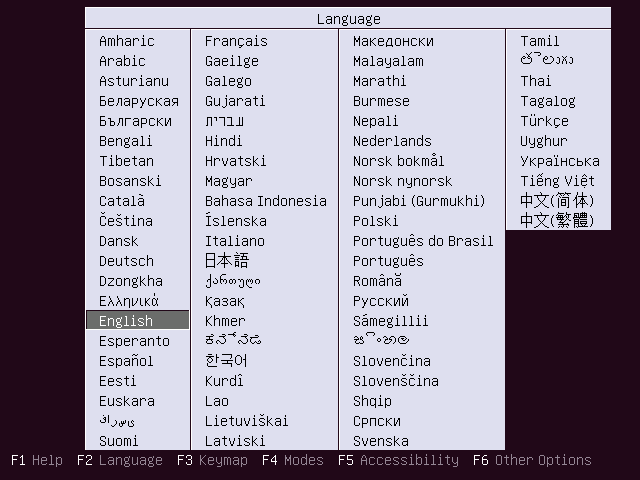
2. Choose the language you need for the installer
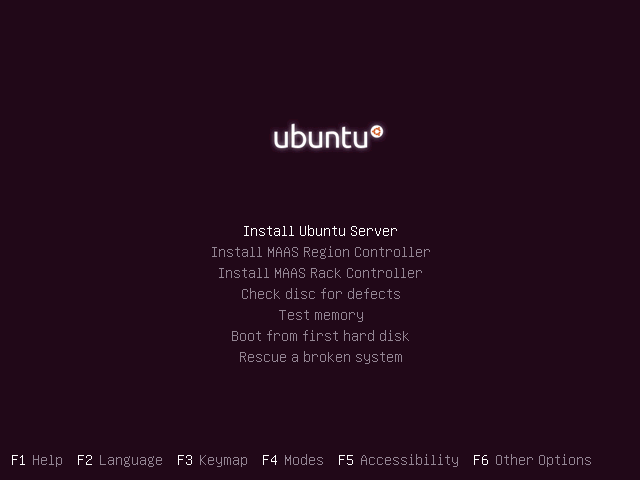
3. Install Ubuntu Server
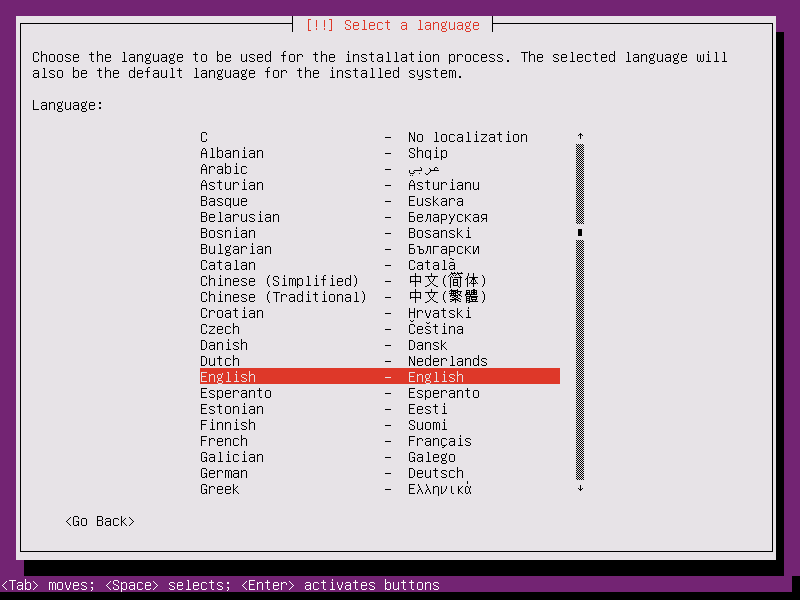
4. Choose the actual language of the server
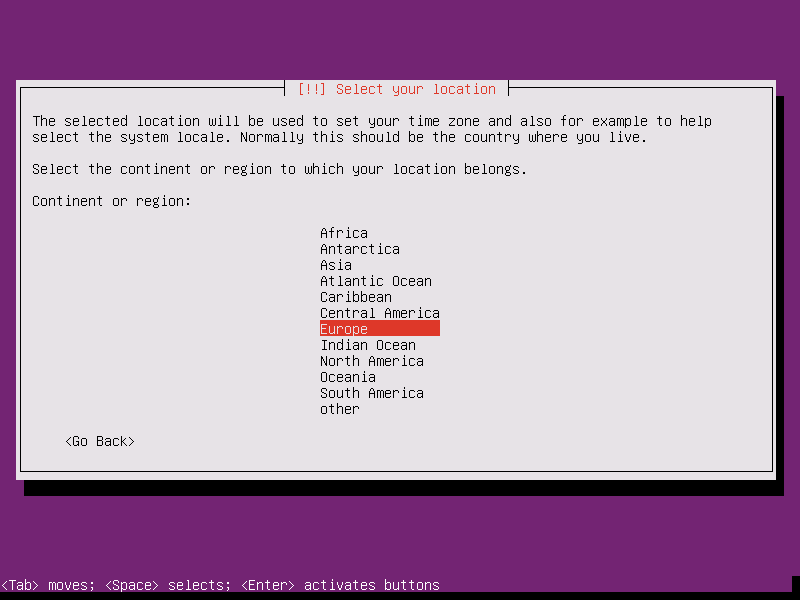
5. Choose your location, theres a good selection or choose other.
6. Choose your keyboard layout

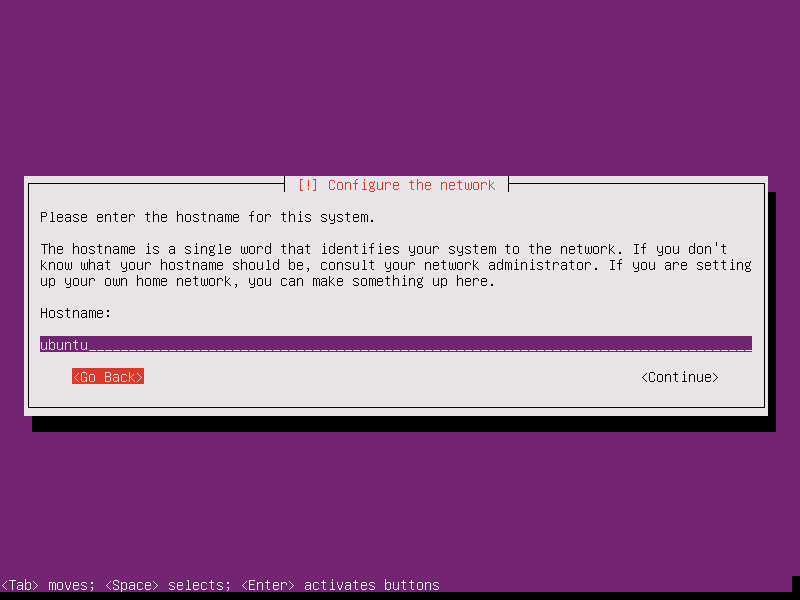
7. Now we can set your hostname. This is the name your server will use on your network.
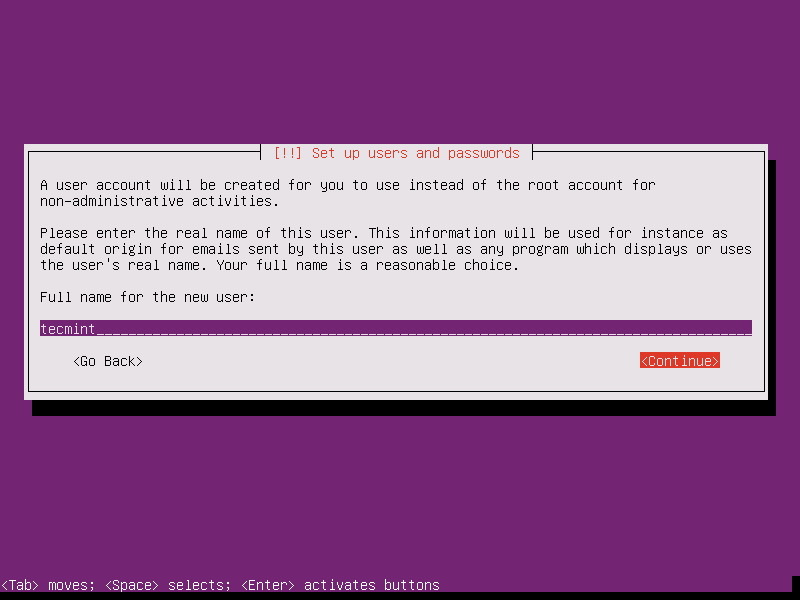
8. Now you need to set your username. This will be the username and account that you manage the system with so make a note. It will also ask you to enter a password twice.
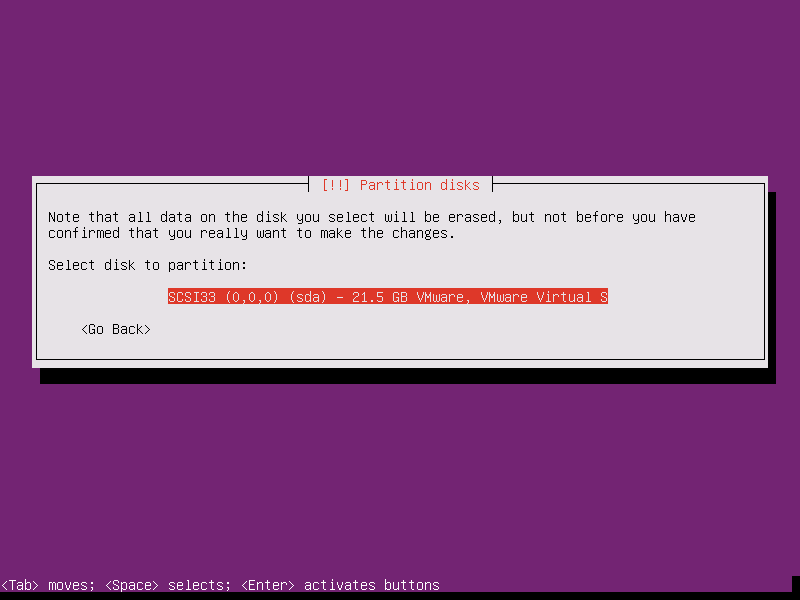
9. Now we need to partition our disk. For general use simply choose “use entire disk and set up LVM”
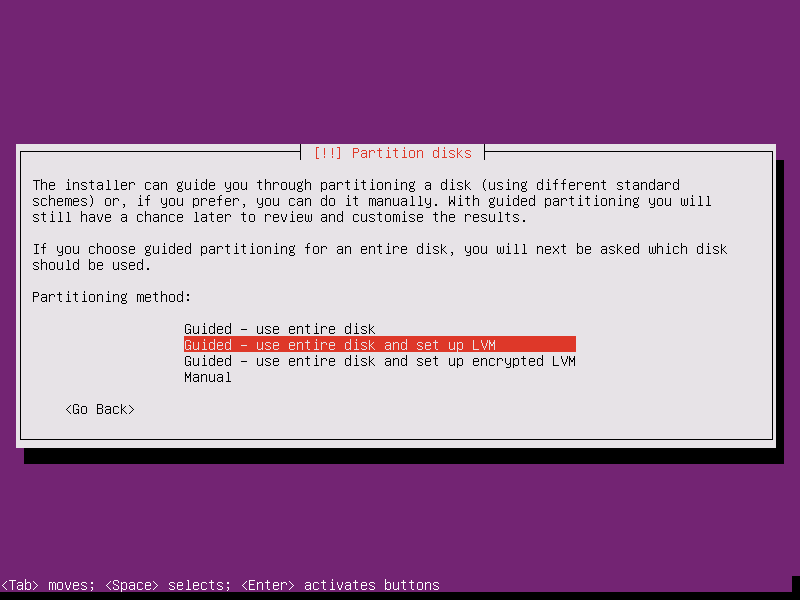
If you have more than one disk, choose which one you’d like to use.
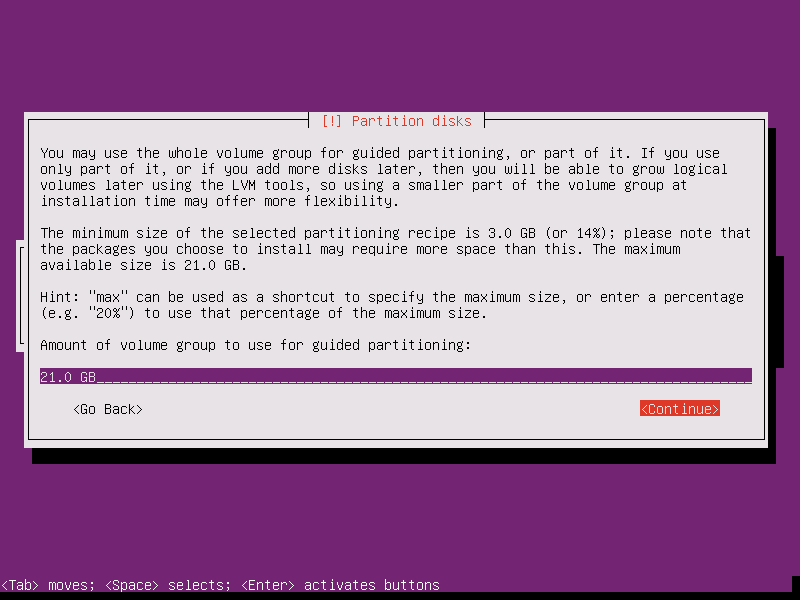
Enter a custom size if you like. For our use we want to use the whole disk just continue.
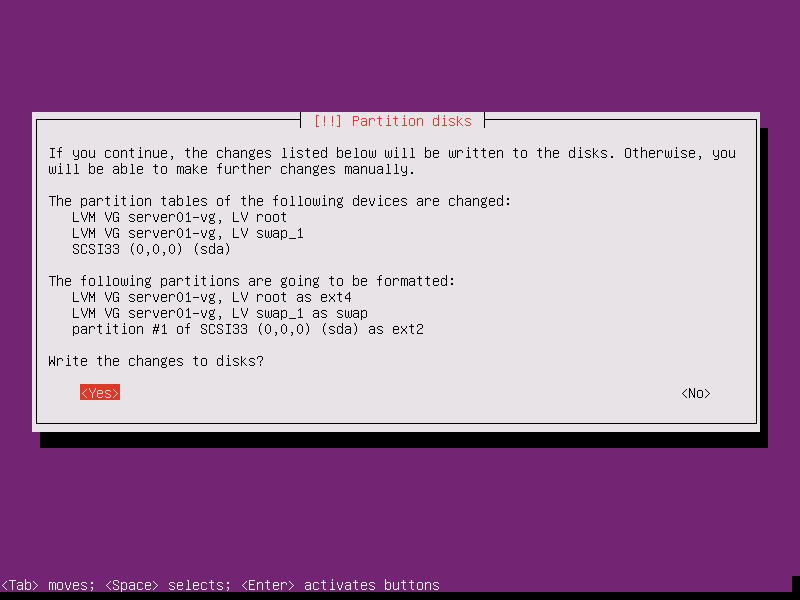
This step uses lots of scary words but it’s normal, just press Yes to write the changes to disk.

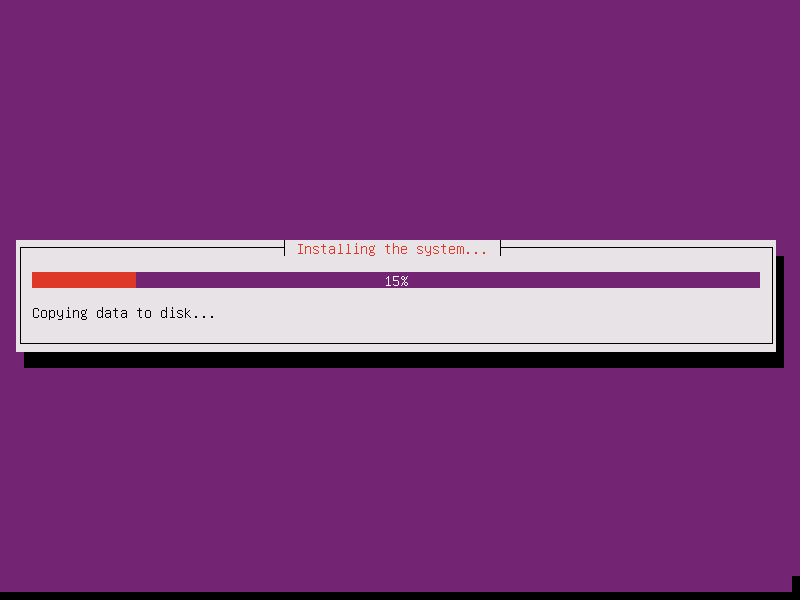
10. Now the installation will start, grab a cuppa.
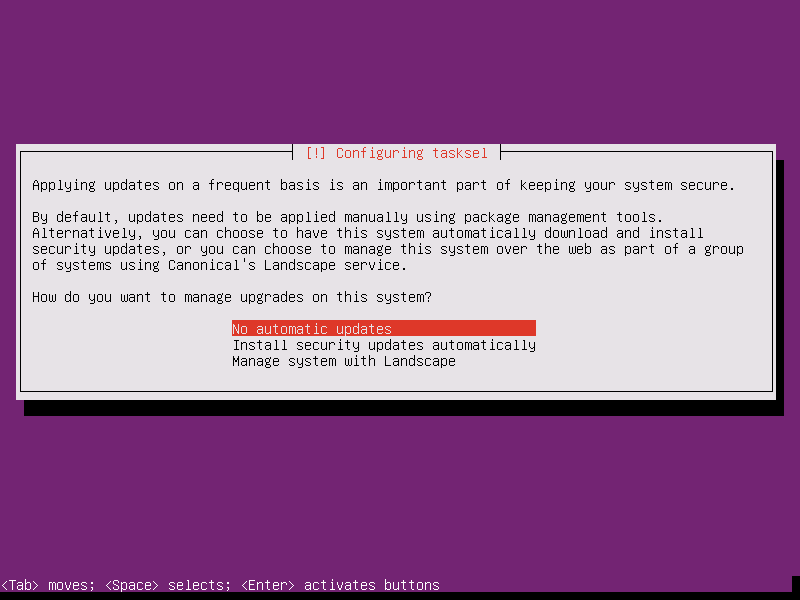
11. The installer will ask you if you want to install automatic updates. Id recommend setting security updates to automatic. That way your server is always going to have the latest security releases.
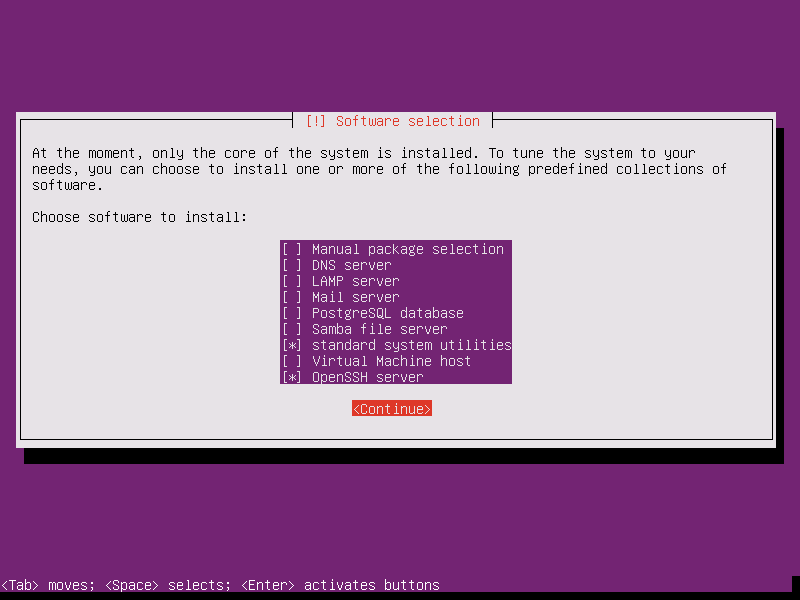
12. At this point in the installation Ubuntu will ask what kind of software you want on the server. We only really need openSSH server and the standard system utilities.
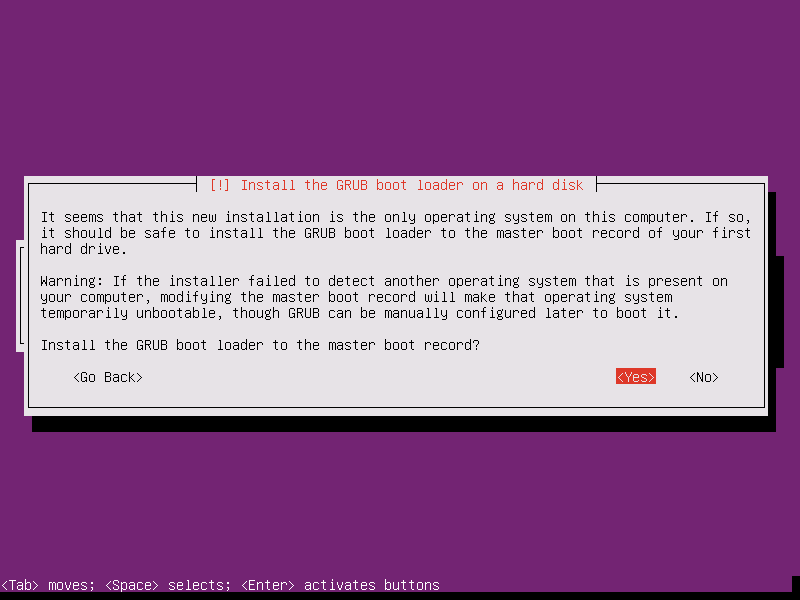
13. We will need to install the GRUB bootloader so click yes
14. Now you should be finished. The installer will ask you to remove the installation media (don’t worry about that) and hit continue to finish.
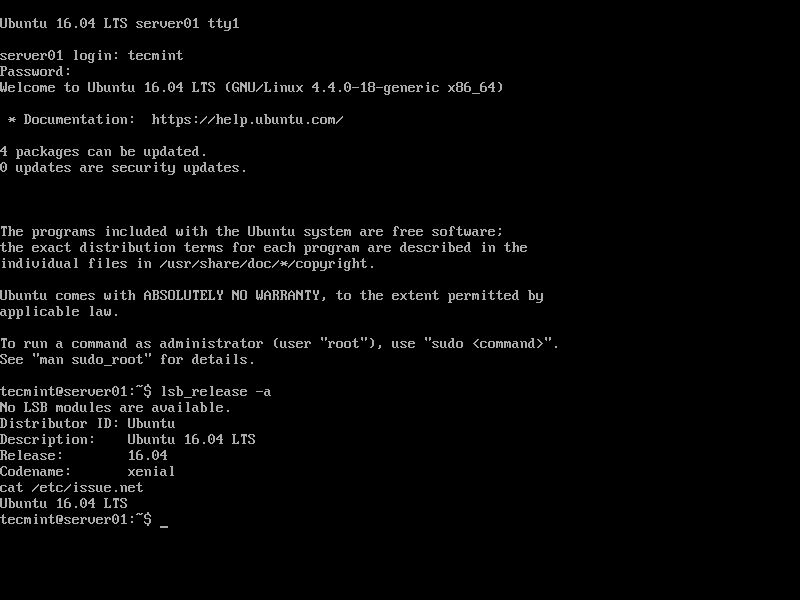
Once you’ve restarted the system you should be prompted with the login screen.
Extra Steps
Some extra steps i’d recommend you do now is some package updates along with setting a static IP address as you will need to have the same IP every time this machine restarts in a server environment.
These commands will need to run with root priviledges so you need to put “sudo” on the front of them. Because of this Ububtu will ask for your password.
Run the following commands. apt-get will get the latest list of updates available
Sudo apt-get
apt-upgrade will install these updates.
sudo apt-upgrade
Once these updates are done i always like to set my static IP
We will need to edit the file which holds our network information. To do this we use Ubuntu’s built in “notepad” which is called nano.
sudo nano /etc/network/interfaces
This will show the configuration of our network interface. Here you can see that the interface is set to DHCP. You will need to change this to Static
# This file describes the network interfaces available on your system
# and how to activate them. For more information, see interfaces(5).

source /etc/network/interfaces.d/*

# The loopback network interface
auto lo
iface lo inet loopback

# The primary network interface
auto enp0s3
iface enp0s3 inet dhcp
You will need to add your own IP information into the file like below. These will differ from my settings to yours.
# This file describes the network interfaces available on your system
# and how to activate them. For more information, see interfaces(5).

source /etc/network/interfaces.d/*

# The loopback network interface
auto lo
iface lo inet loopback

# The primary network interface
auto enp0s3
iface enp0s3 inet static
        address 192.168.xxx.xxx
        netmask 255.255.255.0
        network 192.168.xxx.xxx
        gateway 192.168.xxx.xxx
        dns-nameserver 8.8.8.8 8.8.4.4
Once you’ve finished hold CTRL and X then push Y to save the configuration
Then you can restart the VM
sudo restart now
Once the VM restarts it should be fully ready with the correct IP to install the software you’d like.
Thanks to Techmint for the images.