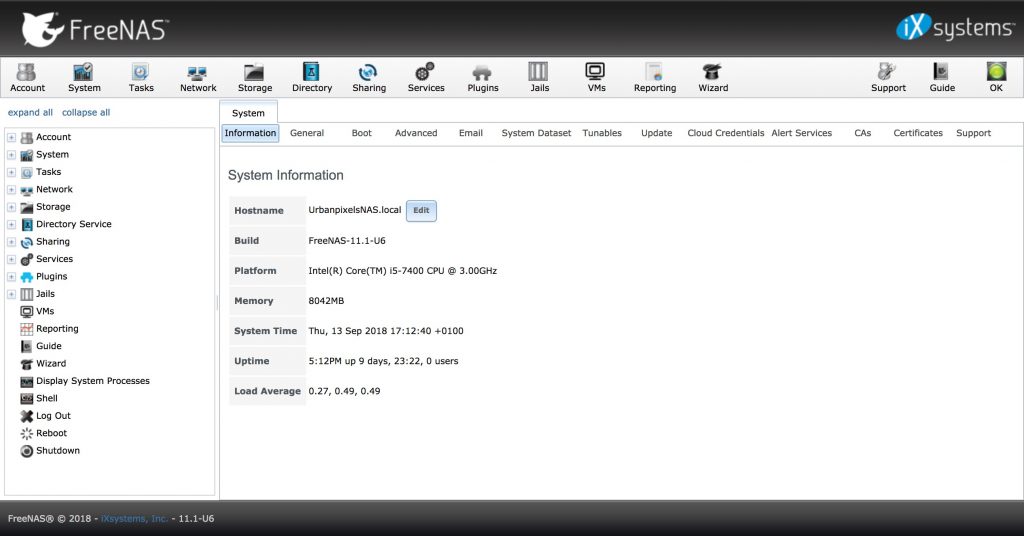
If, like me you are using a Freenas box to keep all your illegally downloaded movies on (not really, honestly reader..) then you’ve probably realised that it can do much more than just host your cherished copies of Friends and Hentai (weird)
It can also host various VM’s (virtual machines) depending on the spec you’ve built your box this could range from 1 to 100 unique machines. Some of the hardcore elite would suggest using an EXSI Hypervisor for this. Who wants more servers in their home hobby environment? Myself and I wanted one box what will do everything reasonably well, Freenas does the job.
First of all you’re going to want to download yourself a copy of Ubuntu, at the time of writing version 18 LTS is available but i still like to use 16.04LTS so this guide will be for that. Im sure you can find others if you really want the newest of the new.
Ubuntu 16.04 LTS Alternative Downloads
Once you’ve downloaded the ISO of your choice we need to create that VM.
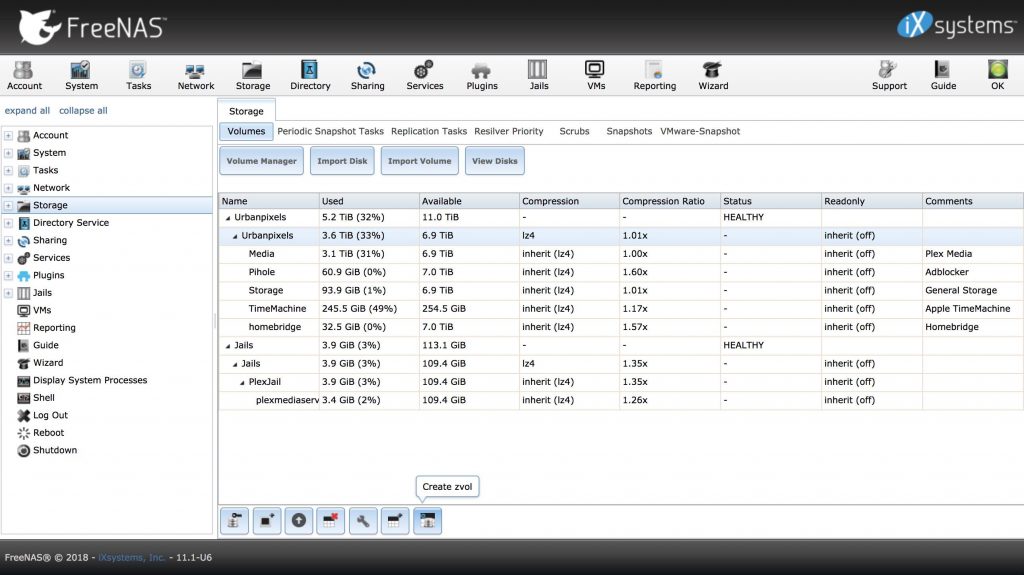
First we need to create some storage. In Freenas these are called Zvol’s
Goto your Storage tab
Click your main storage
Click create Zvol at the bottom
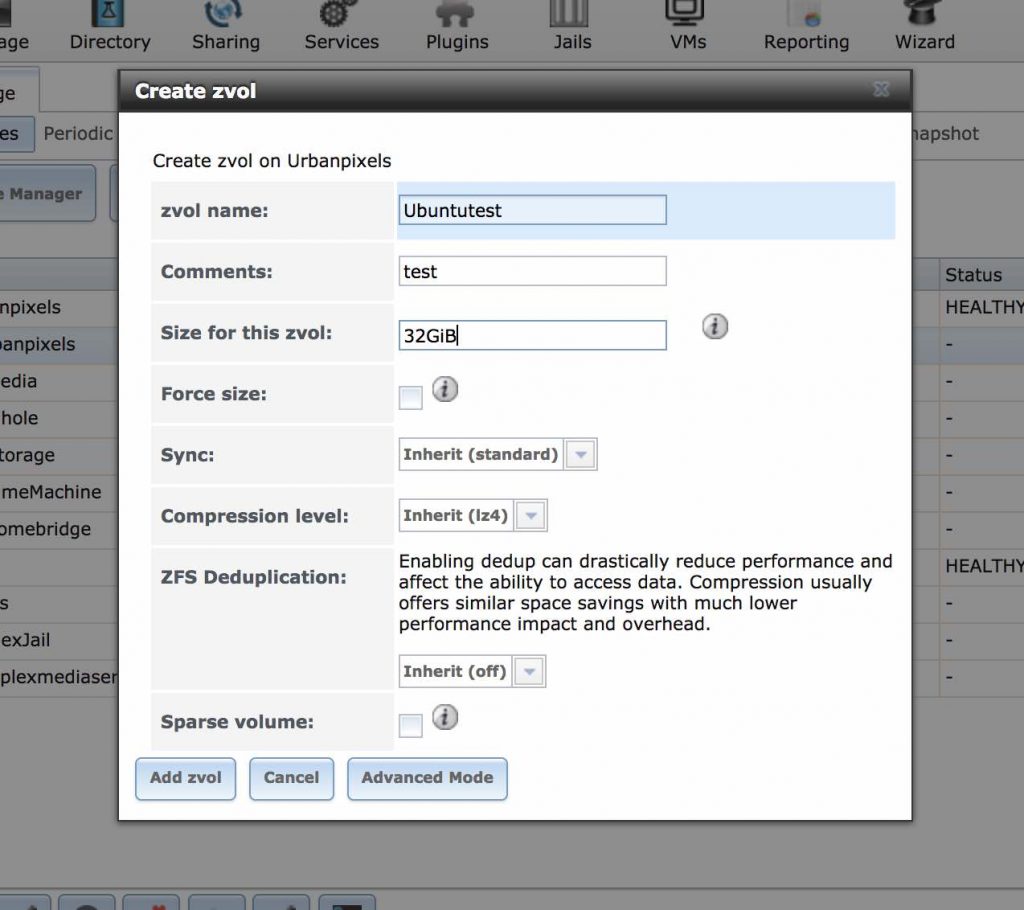
Once you’ve got up the Zvol window you’re going to want to name your new disk and give it some size.
Set the disk size to whatever you think you’ll need don’t for get the GiB or MiB for gigabyte or megabyte.
Now head over to your VM’s page and click Add VM
Here you will be asked to enter the specification of your virtual machine. Give it a name, description. For most home automation services i’ve created usually a 1cpu and 1gb of ram machine is adequate.
Don’t forget to enter your memory size in MiB (1024, 2048 etc)
If you want your VM to autostart with (you do) tick the box.

We need to add the storage we created earlier to the VM. From the VM screen select the VM you’ve created and click Devices at the bottom. Then ADD device.
We will need to add a DISK and CDROM
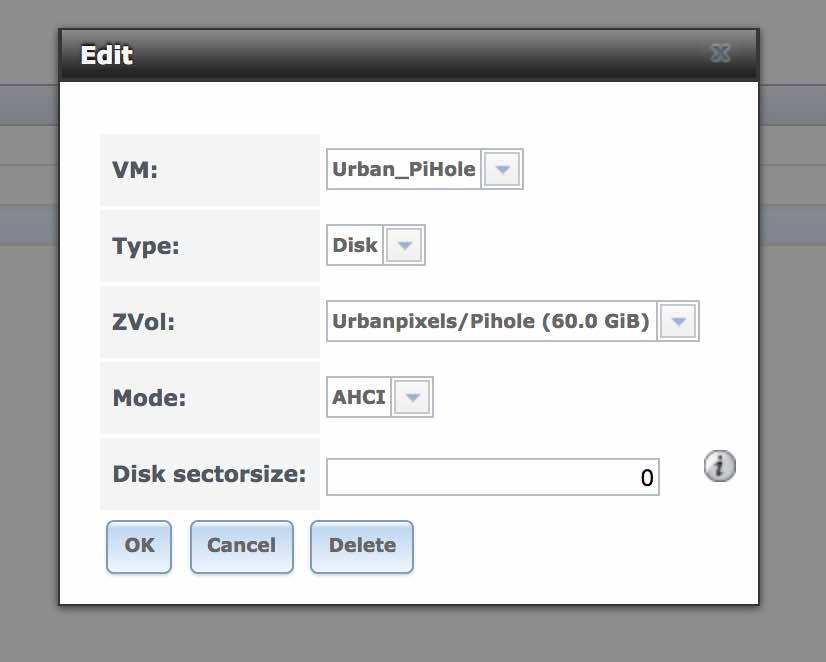
Select the VM you want to assign the storage disk too
Choose Disk
Select the Zvol that you created earlier
Click OK
Now we can add the CDROM
Hopefully you’ve already got the ISO of ubuntu you downloaded earlier already saved on your storage
Goto your VM’s
Add Device
Choose the VM
Choose CDROM
Then you can browse to the location you stored the ISO and click OK
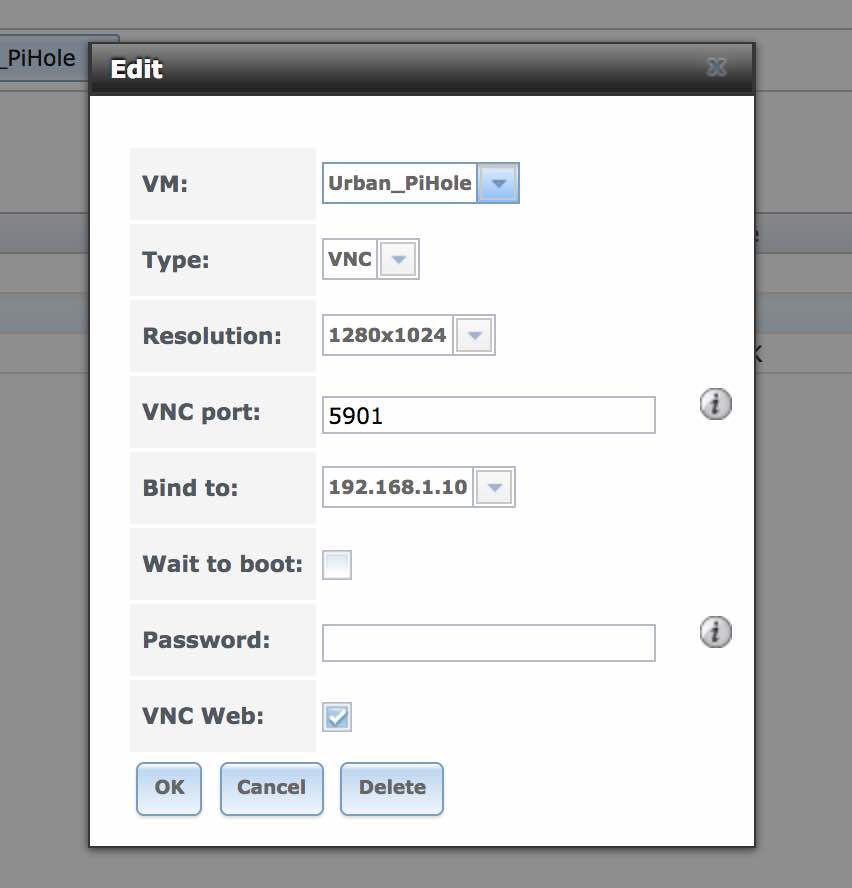
One more thing you are going to want to do is to enable VNC for web, this will allow you to view the “monitor” of this machine while you install Ubuntu.
You can change the resolution of the VNC window, something MIDsize is better in my opinion otherwise you’ll be missing sections off the sides if you’re working from a laptop for example.
Tick the VNC web box and click OK
That should be your Virtual machine created fully. Now you just need to head to the VM page and hit start at the bottom.
From here you can click the VNC button which will launch the VNC web window so you can see what’s going on.
If you created the CDROM correctly with an ISO of Ubuntu it should load the installer when the system is booting.
Then you can head to the next tutorial: